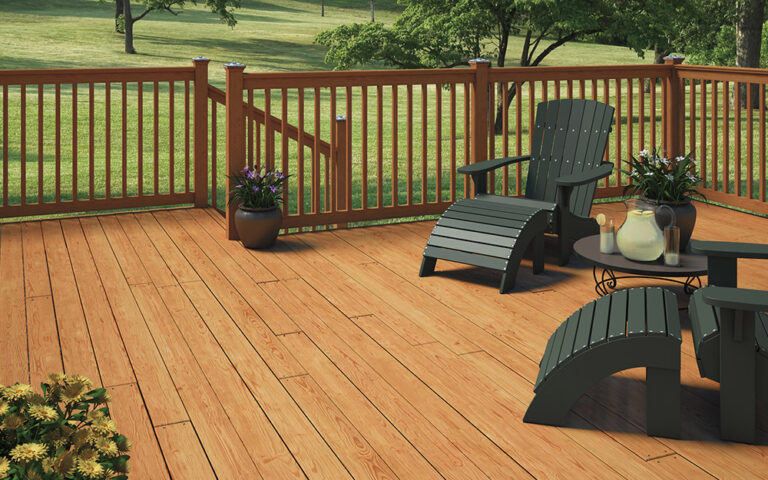
The place for all your outdoor living space!
Installing TimberTech decking the right way gives your project a long-lasting, professional finish. Whether you’re a homeowner taking on a deck build yourself or a contractor preparing for your next job, understanding the correct methods can save time, money, and frustration. TimberTech offers multiple product lines – including Advanced PVC and composite options – each with its own fastening systems and installation steps.
This guide walks you through how to install TimberTech decking from beginning to end. We’ve gathered everything you need to know from official TimberTech installation guides and combined it into one easy-to-follow resource. You’ll learn what tools to use, how to space your joists, how to choose between face screws and hidden fasteners, and how to install fascia boards the right way.
No matter your experience level, this TimberTech installation guide gives you the knowledge to build a better deck – one that performs and looks great for years.

Understanding TimberTech Decking Types
TimberTech offers two main types of decking materials: Advanced PVC and composite decking. Both are durable, low-maintenance alternatives to traditional wood, but they install a bit differently. Understanding these differences helps you choose the right materials and fasteners from the beginning.
TimberTech Advanced PVC Decking
TimberTech Advanced PVC boards are made from 100% PVC and are lighter, more flexible, and highly resistant to moisture. These boards are typically installed using either TOPLoc face screws or the Cortex hidden fastener system with plugs for a smooth surface.
TimberTech Composite Decking
TimberTech composite decking, including the Pro and EDGE series, blends recycled wood fibers and polymers for a strong, stable board. These are often grooved and designed for CONCEALoc hidden fasteners, which give your deck a clean look with no visible screws.
No matter which product you choose, TimberTech decking installation requires careful planning. Different board types call for different installation methods, so selecting the correct system up front makes your build smoother, faster, and longer-lasting.
Tools & Materials You’ll Need
Before starting your TimberTech installation, gather the right tools and materials. Using proper equipment not only improves your results but also helps prevent costly mistakes.
For cutting boards, use a fine-toothed miter saw, circular saw, or jig saw. Avoid cordless saws, which may lack the power for clean cuts. If you’re working with Advanced PVC or composite boards, make sure your blades are sharp and clean to reduce friction and chipping.
Depending on the fastener system, you’ll need different hardware:
- Use TOPLoc screws for surface fastening.
- Choose the Cortex system for hidden fasteners with plugs.
- Use CONCEALoc clips if you’re installing grooved composite boards.
Other helpful items include:
- PPE like safety glasses and gloves
- Spacing tools or hidden fastener guides
- Drill/driver, preferably with adjustable torque settings
- Adhesive and clamps (for fascia boards)
Having all materials on hand makes the TimberTech installation process smoother from beginning to end. Taking time to prep properly saves you time later – especially when you’re aiming for a clean, professional result.
TimberTech Joist Spacing & Substructure Requirements
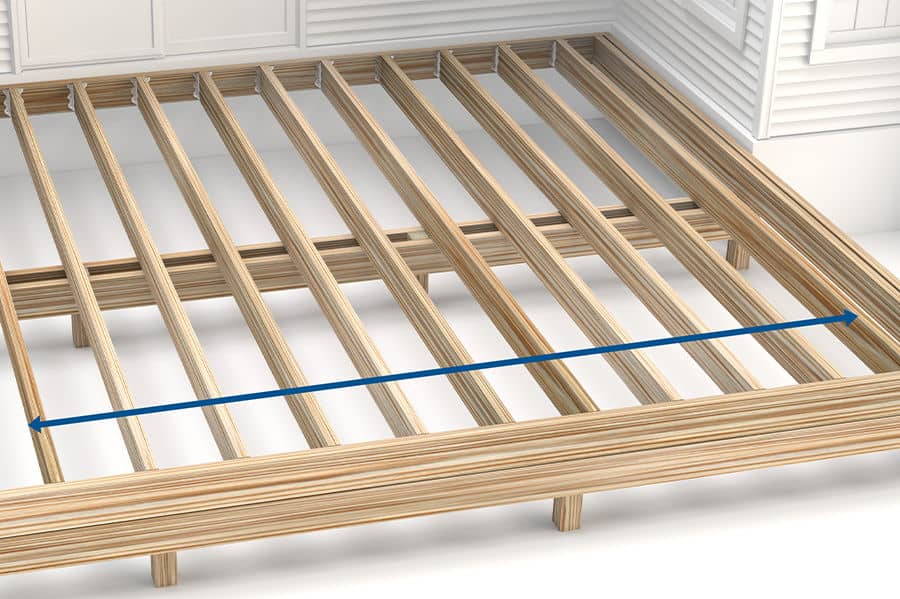
A strong substructure sets the foundation for every TimberTech deck. Before installing any boards, check that your joists meet the correct spacing requirements.
For most TimberTech composite decking, joists must be spaced no more than 16 inches on center. If you’re using TimberTech Advanced PVC boards, reduce spacing to 12 inches on center to prevent flexing. Boards installed at a diagonal also need tighter spacing.
When planning your deck build, include joist blocking at all butt joints. This supports the ends of two boards meeting on a single joist and keeps your surface flat and secure.
Also, ensure the framing is level, square, and securely fastened. A solid frame eliminates future issues like shifting boards or uneven gaps.
Spending time on joist layout helps avoid problems during the actual TimberTech installation and ensures your finished deck feels solid underfoot.
TimberTech Fastening Options Explained
TimberTech offers three main fastening systems – TOPLoc, Cortex, and CONCEALoc – each designed for specific board types. Choosing the right system ensures smooth installation, long-term durability, and a clean finish.
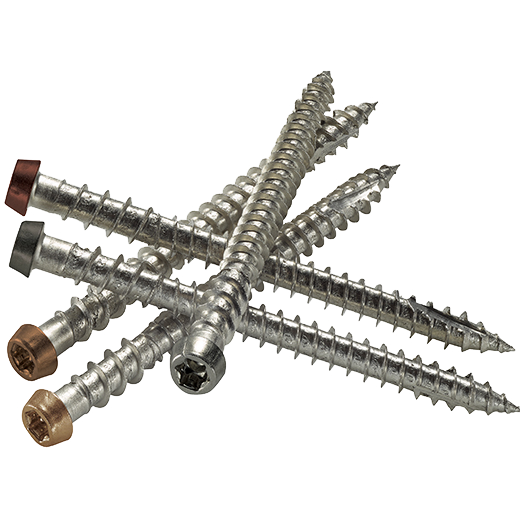
TOPLoc face-fastening uses color-matched stainless steel screws and works well with both composite and Advanced PVC boards. Fast to install and providing a secure hold, though the screws remain visible on the surface.
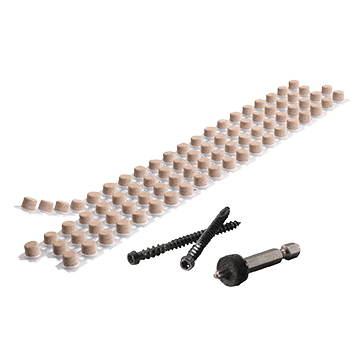
If you’re wondering how to install TimberTech decking with hidden fasteners, you have two solid options. The Cortex system uses a screw-and-plug method that hides fasteners beneath color-matched plugs. Ideal for square-edged PVC boards, this system delivers a smooth, uninterrupted look.
The designers created the CONCEALoc system for grooved composite boards. It uses clips that attach to the side of each board, securing them without face screws. This system gives your deck a clean, modern finish that many homeowners prefer.
Each of these systems has specific spacing, cutting, and fastening requirements. You can find complete step-by-step directions in the TimberTech installation manual, but we’ll cover the most important points in the next section.
Selecting the right fastener isn’t just about looks – it directly affects performance, warranty coverage, and installation time.
Step-by-Step TimberTech Decking Installation
A successful TimberTech installation depends on using the right steps for your board type and fastener system. Follow this walkthrough to install either Advanced PVC or composite decking with professional results.
1. Plan Your Layout
Start by planning the direction of your deck boards. Most installers run boards perpendicular to the house, but you can also lay them at a diagonal. Decide where seams will fall and avoid placing butt joints in a straight line across the deck. If using picture-frame borders, plan those first.
2. Prepare the Substructure
Confirm your joist spacing. Use 12″ on center for Advanced PVC boards and 16″ on center for composite boards. Install blocking at all butt joints and stair openings. The frame must be level and secure before you begin.
3. Cut Boards Properly
Use a fine-toothed saw for clean edges. Always cut boards face-up and wear protective gear. Avoid cordless saws – they don’t have enough power for consistent cuts on composite or PVC materials. For mitered edges or picture-frame borders, test cuts first.
4. Install Starter Boards
Begin along the outer edge or against the house, depending on your layout. For grooved boards, use CONCEALoc starter clips at the first board. With square-edged boards, face-screw the starter row using TOPLoc or Cortex.
5. Fasten Boards Securely
For face fastening, use TOPLoc screws or Cortex plugs. Drive screws straight down – never at an angle – and maintain spacing between ends based on temperature. For example, leave a 1/8″ gap at 33–74°F and 3/32″ above 75°F. Pre-drilling is not required.
For hidden fastening, insert CONCEALoc clips into grooves and secure each with the included stainless steel screw. Make sure the boards are tight before screwing down. Use a tapping block to gently seat each new board.
6. Maintain Consistent Gaps
Use spacers or clip systems to maintain uniform spacing between boards. This helps with drainage and allows for expansion. Gaps also improve airflow and prevent boards from warping or buckling over time.
7. Install Butt Joints and Borders
Stagger your butt joints and place them over doubled joists or blocking. For a picture-frame design, miter the ends of your border boards and install them first, then fill in the field boards. Use Cortex for a clean finish or face-screws if you prefer speed.
8. Clean Up and Inspect
After fastening all boards, walk the surface to check for movement or high screws. Tighten any loose fasteners and trim any overhanging boards. Sweep off debris and inspect for clean lines, even spacing, and proper alignment.
This TimberTech install guide covers both traditional and hidden fastening methods. Whether you’re using composite or PVC, following these steps ensures a smooth installation that looks great and performs for years.
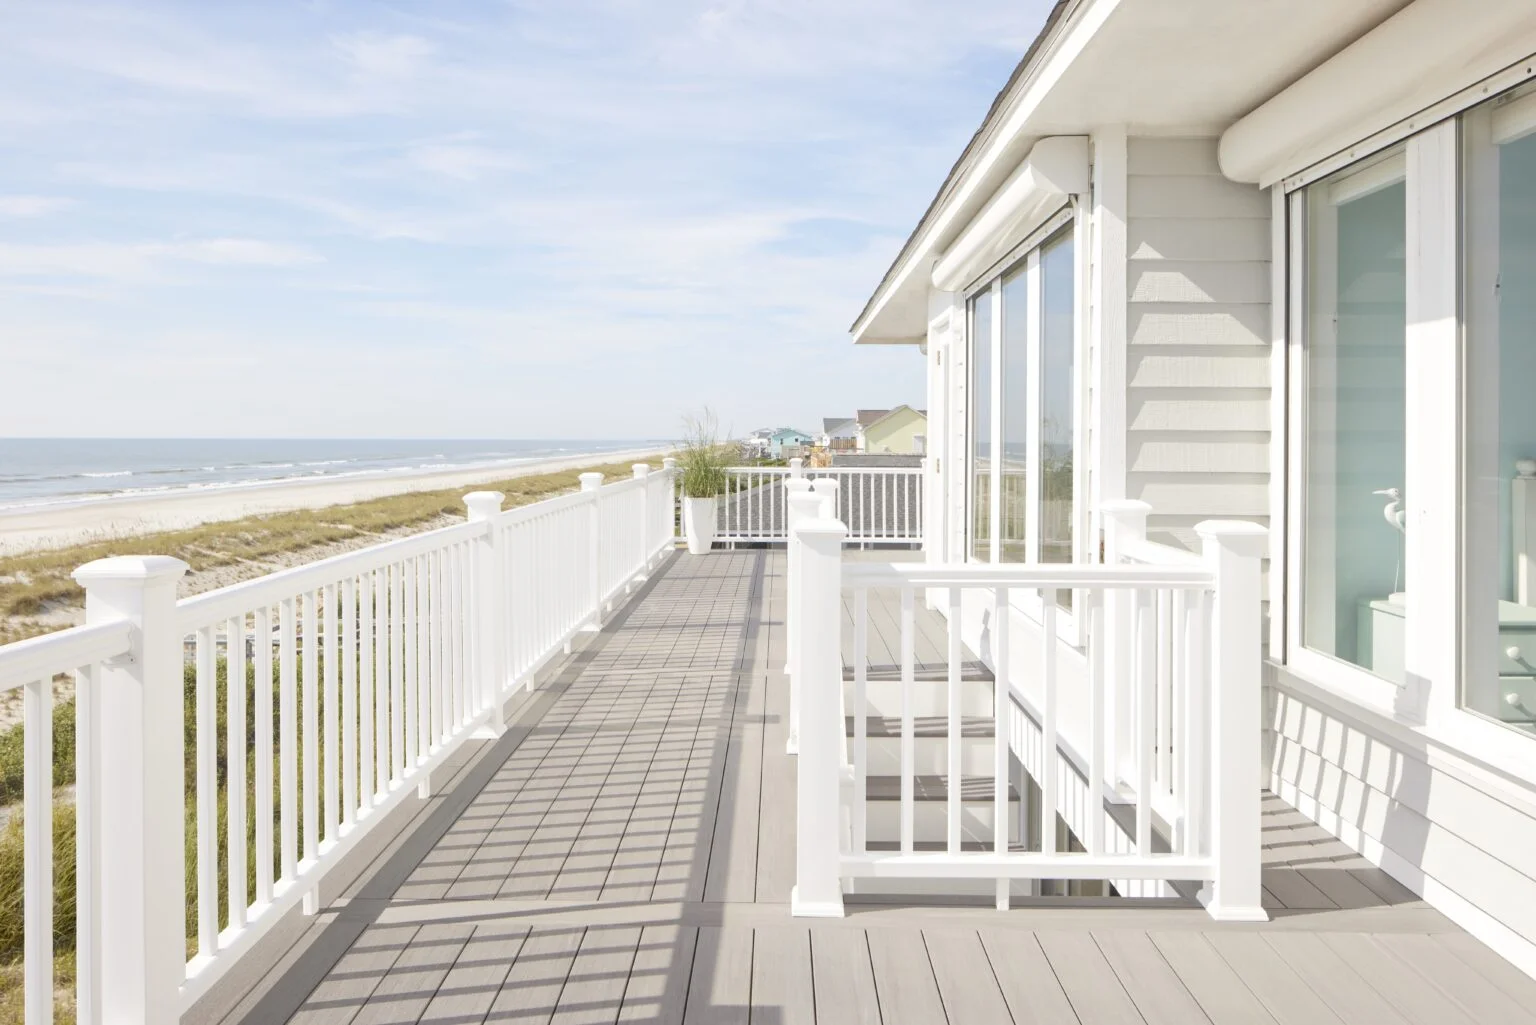
TimberTech Fascia Installation Tips
Finishing your deck with fascia boards adds a polished look and protects the frame. TimberTech fascia boards are made to match your decking and install easily with the right technique.
Start by cutting fascia boards with a fine-toothed saw for clean, accurate edges. Use TOPLoc fascia screws, which are specifically designed to reduce mushrooming or splitting. Pre-drilling isn’t necessary, but do keep screws at least one inch from all board edges.
When installing longer runs, leave a small gap between board ends to allow for expansion. Use a construction adhesive behind each board for added support, especially on taller fascia surfaces.
Fascia boards should sit flush against the rim joist and align evenly with the decking above. Take your time with spacing and layout – clean edges here elevate the entire look of your TimberTech deck.
FAQs About TimberTech Installation
While TimberTech decking is designed for ease of use, we recommend hiring a professional for best results. Proper spacing, fastener use, and framing all affect performance. A pro ensures the job is done right – and protects your investment.
TimberTech boards work with several fastener types, including TOPLoc, Cortex, and CONCEALoc. Choose based on board type – composite or PVC – and whether you want visible screws or a hidden finish.
No. TimberTech decking doesn’t require pre-drilling when using approved fasteners. TOPLoc, Cortex, and CONCEALoc are all designed for direct fastening with no pilot holes needed.
Joist spacing depends on the board type: use 12 inches on center for Advanced PVC and 16 inches for composite decking. Follow temperature-based butt gap recommendations as outlined in the TimberTech install guide.
TimberTech recommends the Cortex and CONCEALoc systems for hidden fastening. Each provides a secure hold with a clean surface – ideal if you’re learning how to install TimberTech decking with hidden fasteners.
Installing TimberTech decking takes planning, the right tools, and a clear understanding of the product you’re using. Whether you’re working with Advanced PVC or composite boards, following the correct methods helps you build a deck that lasts. From fastener systems to fascia trim, each step matters.
If you’re unsure how to install TimberTech decking on your own, it’s always best to work with a trusted contractor. And when you’re ready to purchase materials, Premium Decking Supply is here to help – with expert support, fast delivery, and the full TimberTech lineup in stock.